Getting Started
This guide explains how to get started with dahlia studio in a few simple steps. We'll cover installation of the editor and solar2d, which version of dahlia is best for you, and how to create your very first project in dahlia.
Step 1: Install Solar2D
Download and install the latest version of solar2d here. Additional information on how to set-up solar2d on windows can be found here.
Step 2: Install Dahlia Studio
There are 2 versions of dahlia studio. Both versions can be downloaded by visiting ansh3ll.itch.io/dahlia.
Refer to the feature comparison table below.
| Feature | Dahlia Lite | Dahlia |
|---|---|---|
| Price | Free | $29.99 |
| Basic functionality | ✓ | ✓ |
| Color palette | ✓ | ✓ |
| Bitmap text | ✓ | ✓ |
| Sprite animation editor | ✓ | ✓ |
| Particle editor | ✗ | ✓ |
| Custom objects | ✗ | ✓ |
| SVG shape backend | ✗ | ✓ |
| Nestable scenes | ✗ | ✓ |
| Rich text support | ✗ | ✓ |
Extract the zip file you downloaded and double click Dahlia Studio.exe to launch the editor.
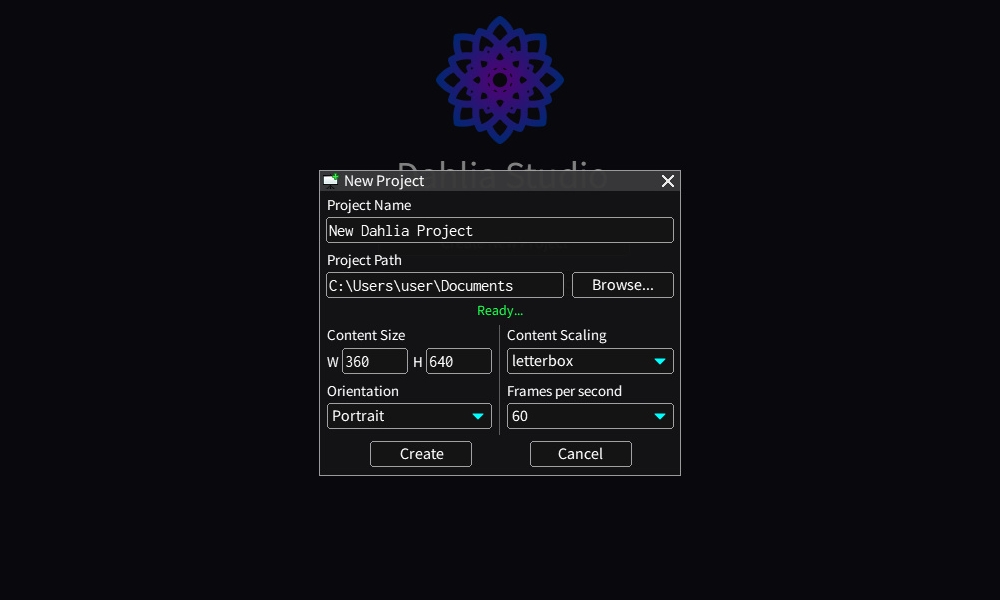
Step 3: Create a New Project
- Launch Dahlia Studio.
- Click Create New Project to open the project setup dialog.
- Choose a name for your project and select the location where your project's folder will be created.